
How to Install a Propeller
Have you got a new propeller (also called a prop or boat propeller) for your outboard or sterndrive? On this page you can read step by step how to fit it, what you need and what to look out for. With a few basic tools you can usually replace your propeller yourself without much trouble.
Before you start
Check your delivery
- Does the size on the propeller (diameter × pitch) match your order?
- Does the direction of rotation (left-hand or right-hand) match your engine? This is especially important on boats with twin engines or counter-rotating drives.
- Are all the parts there? Check this before you remove the old propeller, especially with an interchangeable hub kit.
Tools
- Ring or open-end spanner (or a deep socket) in the right size for your propeller nut
- Pliers, for removing and bending the cotter pin
- Block of wood, to stop the propeller turning while you loosen and tighten the nut
- Marine grease
- Old cloth or kitchen roll, for cleaning the propeller shaft
- Work gloves
- Optional: torque wrench
- Optional: penetrating oil, if the old propeller is stuck
Safety
- Always make sure the engine is switched off, remove the key from the ignition and put the engine in neutral.
- Ideally, replace your propeller while your boat is out of the water.
- Use good-quality tools to avoid damaging your propeller or engine.
- Never hold the propeller with your hand while loosening or tightening the nut; use a block of wood instead (see below). This protects your hands and prevents damage to the blades.
What do I need?
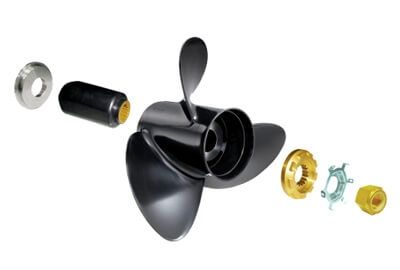
Propeller with hub
The hub system is the connection between the propeller and the propeller shaft of your gearcase. All our propellers come with a hub as standard, unless the product page states that the propeller is supplied without a hub. The product page also tells you whether it has a fixed or an interchangeable hub. With a fixed hub, the hub is already pressed into the propeller; an interchangeable hub kit is mainly used on higher-horsepower engines.
Optional: nut and cotter pin
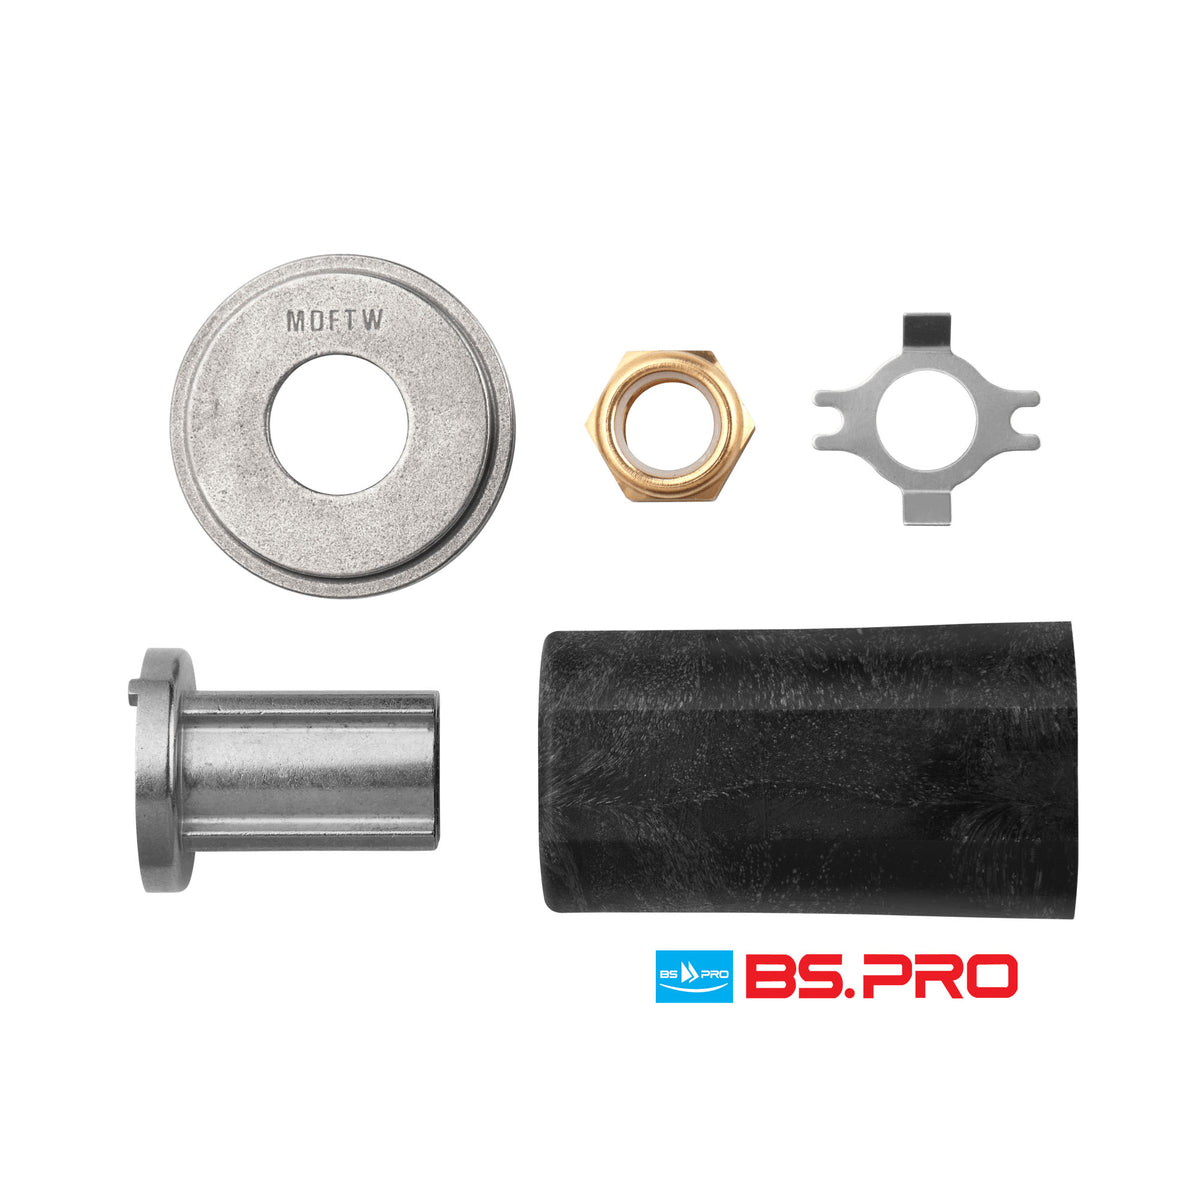
You can usually reuse the nut that is currently on your propeller shaft. If you have lost it or it is damaged (for example by tools or corrosion), you can order a new one. The right nut for your engine is offered as an option on the product page of your propeller. With an interchangeable hub kit the nut is often included. The product page usually shows a photo of the hub kit with the parts it contains.
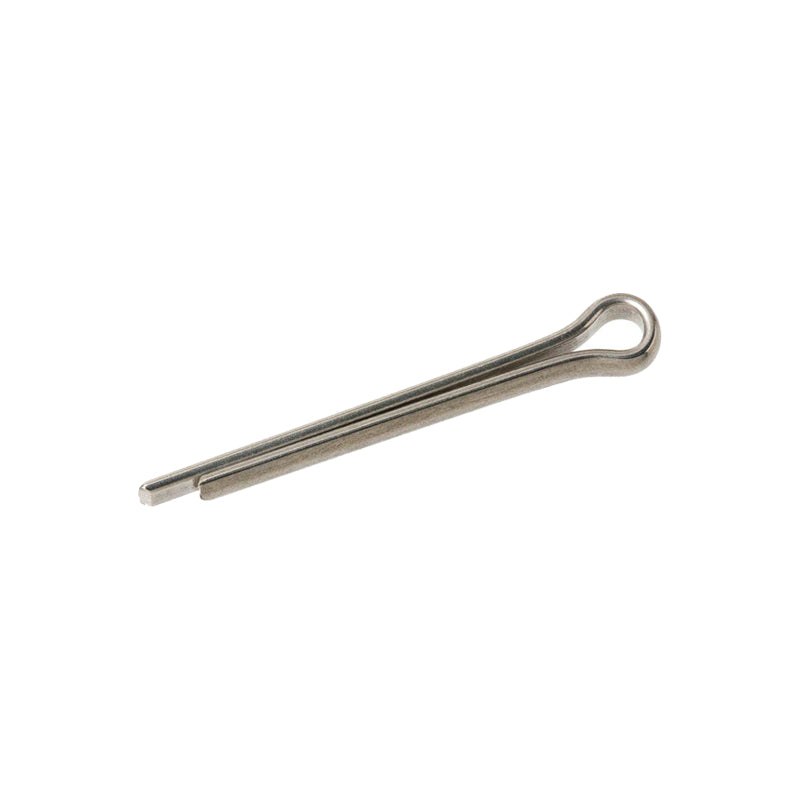
We do not recommend reusing an old cotter pin. Cotter pins come in different thicknesses and lengths; the right size is shown on the product page, so you can order it together with your propeller.
Optional: marine grease
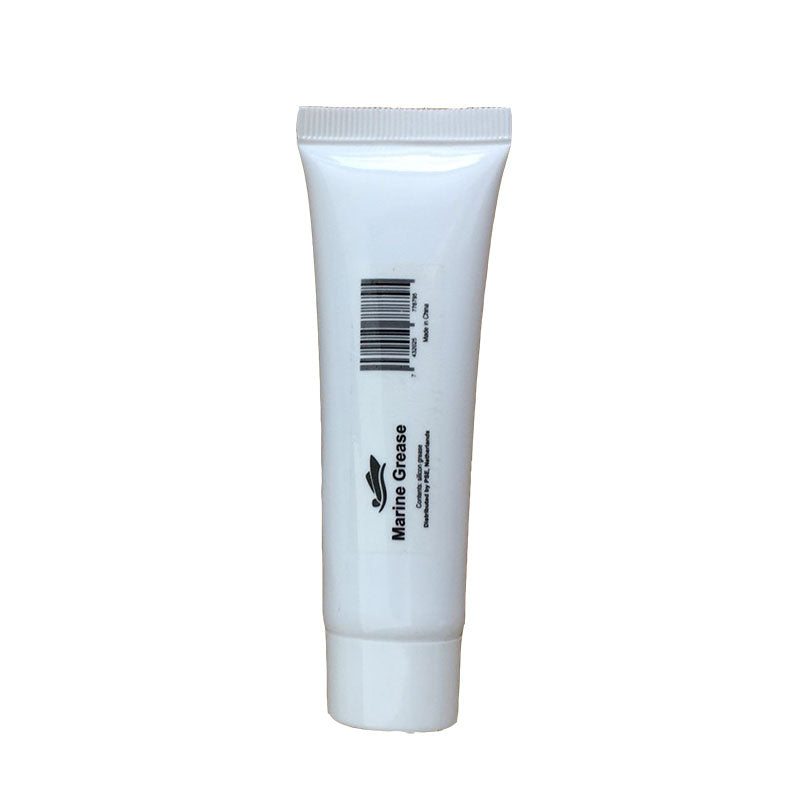
Marine grease makes it easy to remove the propeller from the propeller shaft at the next service. It is made specifically for wet conditions and is water-resistant. You can simply order it together with your propeller.
Optional: nut kit
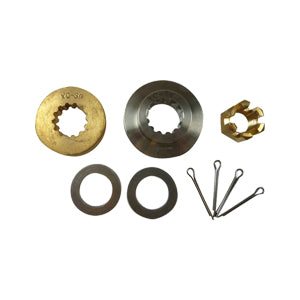
Normally you only need to replace the propeller and can reuse the other mounting parts. If you have lost these parts, for example because your propeller came off while boating, or if they are corroded, you can replace them at the same time as your propeller. For this we offer nut kits with exactly the right parts for your engine: usually a nut, cotter pin, washer and spacer. The right nut kit is suggested on the product page of the propeller for your engine.
Removing the old propeller
Removal in 3 steps
- Straighten the ends of the cotter pin and pull it out of the shaft with pliers. With a nylock nut, first bend back the tabs of the tab washer.
- Place a block of wood between a propeller blade and the anti-cavitation plate so the propeller cannot turn. This also stops your spanner from slipping and causing an injury.
- Undo the nut and remove the spacer, the propeller and the other parts. Lay them out in the order they came off the shaft, so you know exactly how everything goes back on.
Is the propeller stuck?
Corrosion or old grease can make a propeller stick to the shaft. Spray some penetrating oil between the hub and the shaft and leave it to soak in for a while. Then tap the hub gently with a rubber mallet or a piece of wood, never the blades. Never strike it with a metal hammer and do not use a naked flame, as this can damage the hub and your engine's seals. If the propeller still will not come off, have it removed by a specialist.
Check the propeller shaft
Clean the shaft and check that no fishing line is wrapped around it behind the propeller. This happens more often than you might think and can damage the seal of your gearcase, letting water into the gearcase oil. Also check that the thrust washer and the other parts are not worn or damaged.
Fitting the new propeller
Propellers have either a fixed or an interchangeable hub. Propellers for smaller engines (up to about 50 hp) often have a fixed hub, while propellers for higher-horsepower engines usually have an interchangeable hub. This varies by brand, and for some engines both options are available. The product page of your propeller clearly states whether it has a fixed or an interchangeable hub.
Before fitting, apply a thin layer of marine grease to the propeller shaft.
1. With a fixed hub
The parts on the propeller shaft are usually in this order: forward thrust washer, propeller, spacer, nut, cotter pin. Slide the new propeller onto the shaft, refit the original spacer (if your shaft had one) and secure the propeller with the nut and a new cotter pin.
2. With an interchangeable hub kit
In principle, fit the parts in the same order as on your old propeller. If you no longer remember the order, use the reference below. There are two versions: with a castle nut, the most common, and with a nylock nut. The nylock nut is mainly used on MerCruiser, Mercury and Mariner; other brands usually use a castle nut.
You can tell the difference from the nut itself: if it has castle-like slots, it is a castle nut. If it is an ordinary, closed nut, it is a nylock nut.
2a. Fitting with a castle nut
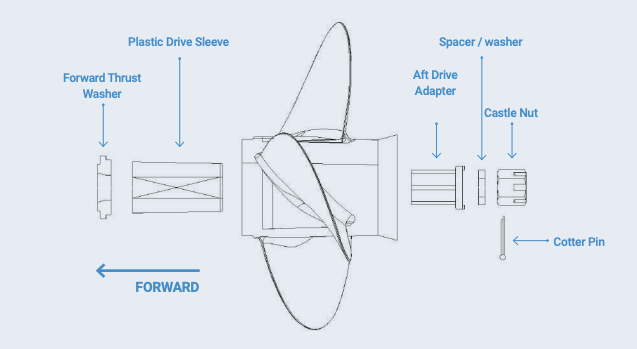
Order (from the engine side to the water side): forward thrust washer, plastic drive sleeve, propeller, aft drive adapter, spacer/washer, castle nut, cotter pin.
2b. Fitting with a nylock nut
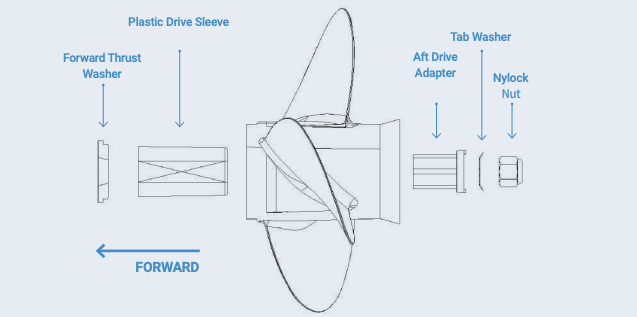
Order (from the engine side to the water side): forward thrust washer, plastic drive sleeve, propeller, aft drive adapter, tab washer, nylock nut. After tightening, bend the tabs of the tab washer up against the nut so it cannot work loose.
How tight should the nut be?
Place the block of wood between a propeller blade and the anti-cavitation plate again. The correct tightening torque varies by engine and is given in your engine's manual. Ideally, use a torque wrench.
If you do not have one, use this as a guideline: tighten the nut firmly with a ring or open-end spanner, using good force with one hand. Do not use an extension and do not hang your full weight on the spanner, as overtightening can damage the hub or thrust washer. With a castle nut, then tighten a little further until a slot lines up exactly with the hole in the shaft. Never back the nut off to do this.
Checks after fitting
Turns freely without play
After tightening, check that the propeller turns freely: the blades must not touch the engine and the propeller must not rub against the housing. Also check that the propeller cannot slide forwards or backwards. Play is dangerous, because your propeller could then come loose while you are under way. If there is still play, you may have left out a part, such as the thrust washer or another washer.
Securing the nut
A castle nut must always be secured with a cotter pin. Push the cotter pin through the hole in the propeller shaft and through the slots of the castle nut. Bend the ends over firmly so the cotter pin cannot come out and the nut cannot work loose. Always use a new cotter pin.
Check after your first trip
If you notice unusual vibrations or noises while under way, stop and check the installation. After your first trip, check that the nut is still tight, that the cotter pin or tab washer is still intact and that no play has developed. After that, repeat this check regularly, for example at the start of every boating season.
Frequently asked questions
Can I replace my boat propeller myself?
Yes. With basic tools, such as a ring or open-end spanner, pliers and a block of wood, you can replace most propellers yourself. Follow the steps on this page and check afterwards that everything is properly tightened.
How long does it take to change a propeller?
You will usually be done within half an hour. If the old propeller is stuck due to corrosion, it can take longer.
Does my propeller come with a hub?
Yes, all our propellers come with a hub as standard, unless the product page states that the propeller is supplied without a hub. The product page also tells you whether it has a fixed or an interchangeable hub.
Can I reuse my old propeller nut and washers?
Usually, yes, as long as they are not damaged or corroded. Always use a new cotter pin, though.
How do I know if I have a castle nut or a nylock nut?
A castle nut has castle-like slots and is always secured with a cotter pin. A nylock nut is an ordinary, closed nut with a plastic ring on the inside, and is usually combined with a tab washer.
What if the propeller does not fit my propeller shaft?
Never force the propeller on. Check that you have ordered the right propeller for your engine and that the number of tooth splines on your propeller shaft matches the propeller. If in doubt, please contact us.
What should I do with my old propeller?
If your old propeller is still in good condition, keep it on board as a spare. That way you can swap it quickly if your propeller gets damaged while you are out on the water.
Need help?
Do you have questions about fitting your propeller? Please contact us, we are happy to help. Still looking for a new propeller, or want to know which propeller suits your boat best? Then take a look at our propeller guide, “How to Choose the Right Propeller”.
- Choosing a selection results in a full page refresh.


!